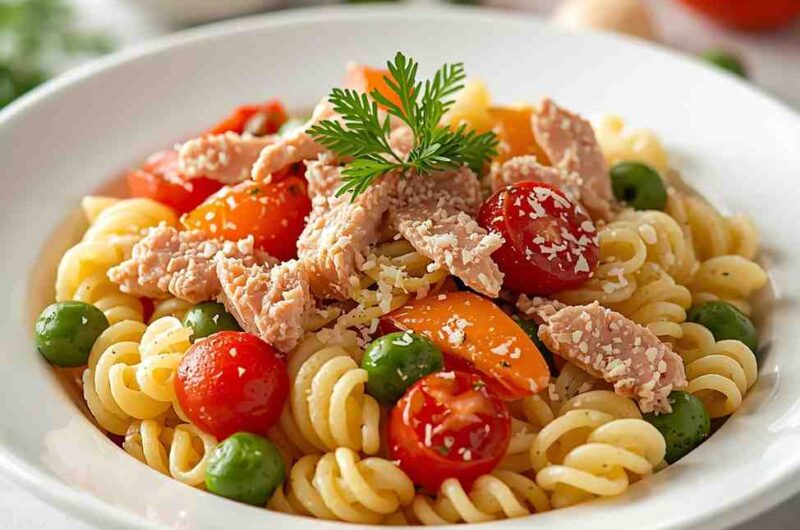
Tuna Pasta Salad is a timeless, comforting dish that brings together tender pasta, flaky tuna, crisp vegetables, and a creamy yet refreshing dressing. It’s the perfect balance of creamy, tangy, and savory flavors with just the right amount of crunch.
Whether you’re packing lunch for work, prepping a dish for a picnic, or needing a simple make-ahead dinner, this pasta salad fits the moment.
One of the biggest appeals of this recipe is its versatility. With pantry staples like canned tuna and pasta, you can assemble this dish quickly, yet it tastes wonderfully satisfying and thoughtfully prepared. It’s a staple recipe you’ll want to remake again and again.
Why I Love This Recipe
I love this recipe because it is:
- Quick and convenient—most ingredients are already in your kitchen.
- Satisfying but light, making it suitable for warm weather or busy weeknights.
- Customizable, allowing endless add-ins like boiled eggs, pickles, olives, and fresh herbs.
- Meal-prep friendly, since it tastes even better the next day as flavors meld.
There’s something nostalgic and comforting about a well-made tuna pasta salad. It’s familiar, creamy, refreshing, and endlessly pleasing.
Why This Dish Is a Must-Try
You must try this recipe because:
- It takes minimal effort but delivers maximum flavor.
- It’s incredibly cost-friendly.
- Great for lunchboxes, potlucks, picnics, or a no-fuss dinner.
- It’s a balanced dish with protein, carbs, and vegetables already included.
This is a recipe that truly belongs in every household.
Time, Serving Size & Nutrition
| Detail | Info |
|---|---|
| Preparation Time | 15 minutes |
| Cooking Time | 10 minutes |
| Total Time | 25 minutes |
| Servings | 4–5 |
| Calories per Serving | Approx. 390 calories |
Cuisine & Course
- Cuisine: American
- Course: Lunch / Dinner / Pasta Salad
Ingredients
For the Salad
- 8 oz (225 g) elbow macaroni or small pasta (penne, rotini, shells)
- 2 cans (5 oz/142 g each) tuna, drained
- ½ cup celery, finely diced
- ⅓ cup red onion, finely chopped
- ½ cup sweet corn (canned or thawed frozen)
- ¼ cup red bell pepper, diced
- 2 tablespoons fresh parsley, chopped
For the Dressing
- ½ cup mayonnaise
- 2 tablespoons Greek yogurt or sour cream
- 1 tablespoon Dijon mustard
- 1 tablespoon lemon juice
- 1 teaspoon sugar (optional)
- Salt and black pepper to taste
Step-by-Step Preparation
Step 1: Cook the Pasta
- Bring a pot of salted water to a boil.
- Cook pasta according to package instructions until al dente.
- Drain and rinse under cold water to cool completely.
Step 2: Make the Dressing
- In a small bowl, whisk together mayonnaise, yogurt, Dijon mustard, lemon juice, sugar, salt, and pepper until smooth.
Step 3: Assemble the Salad
- In a large mixing bowl, combine cooled pasta, tuna, celery, onion, corn, and bell pepper.
- Pour dressing over the mixture.
- Gently fold ingredients together until well coated.
Step 4: Chill
- Refrigerate for at least 30 minutes to allow flavors to develop.
How to Serve
Serve chilled or slightly cool. Garnish with:
- Fresh black pepper
- Parsley
- Extra lemon squeeze
- A sprinkle of paprika (optional)
Great served with:
- Crackers
- Garlic bread
- Soup
- Fresh fruit
Tips for Success
- Rinse pasta after cooking to prevent sticking and stop cooking.
- Use solid white tuna or tuna in brine for best flavor and texture.
- Chill before serving for a better flavor blend.
- Add a splash of milk to revive leftovers if the pasta absorbs dressing.
Variations
| Version | What to Change |
|---|---|
| Mediterranean Style | Add olives, cherry tomatoes, cucumber, feta cheese. |
| Spicy Tuna Pasta Salad | Add chili flakes, sriracha, or jalapeños. |
| Healthy Light Version | Use all Greek yogurt instead of mayo. |
| Classic Deli Style | Add diced pickles, hard-boiled egg, and extra mustard. |
| Creamy Ranch Version | Replace dressing with ranch + small amount of mayo. |
Storage & Freezing
- Refrigerator: Store in an airtight container for 3–4 days.
- Freezing: Not recommended (mayonnaise base separates).
Special Equipment Needed
- Mixing bowl
- Whisk
- Pasta pot
- Strainer
FAQ
Q: Can I make this ahead?
Yes! It actually tastes better the next day.
Q: Can I use fresh tuna instead of canned?
Absolutely—grilled or seared fresh tuna works beautifully.
Q: Can I add cheese?
Yes—sharp cheddar cubes or Parmesan work great.
Q: Can I skip the vegetables?
You can, but they add texture and freshness.
Conclusion
Tuna Pasta Salad is a classic, refreshing, and fully satisfying dish that brings convenience and flavor together effortlessly. With minimal effort, everyday ingredients, and endless customization options, this recipe is one you’ll love returning to again and again. From busy weekdays to casual gatherings, it’s a simple recipe that never disappoints.
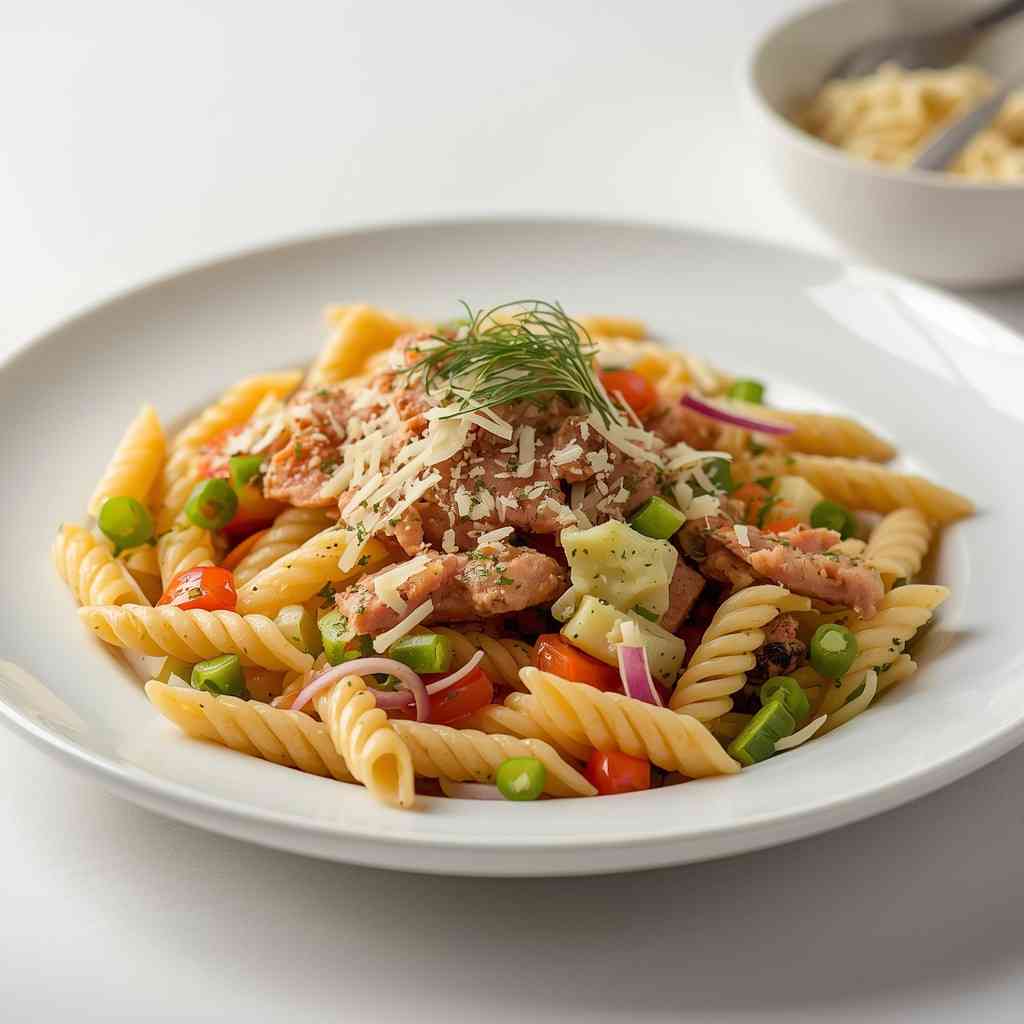
Tuna Pasta Salad
Course: SaladsCuisine: AmericanDifficulty: Easy4
servings15
minutes10
minutes25
minutesIngredients
For the Salad
8 oz (225 g) elbow macaroni or small pasta (penne, rotini, shells)
2 cans (5 oz/142 g each) tuna, drained
½ cup celery, finely diced
⅓ cup red onion, finely chopped
½ cup sweet corn (canned or thawed frozen)
¼ cup red bell pepper, diced
2 tablespoons fresh parsley, chopped
For the Dressing
½ cup mayonnaise
2 tablespoons Greek yogurt or sour cream
1 tablespoon Dijon mustard
1 tablespoon lemon juice
1 teaspoon sugar (optional)
Salt and black pepper to taste
Directions
- Step 1: Cook the Pasta : Bring a pot of salted water to a boil. Cook pasta according to package instructions until al dente. Drain and rinse under cold water to cool completely.
- Step 2: Make the Dressing : In a small bowl, whisk together mayonnaise, yogurt, Dijon mustard, lemon juice, sugar, salt, and pepper until smooth.
- Step 3: Assemble the Salad : In a large mixing bowl, combine cooled pasta, tuna, celery, onion, corn, and bell pepper. Pour dressing over the mixture. Gently fold ingredients together until well coated.
- Step 4: Chill : Refrigerate for at least 30 minutes to allow flavors to develop.